

Professional pest treatment is only as effective as the preparation that precedes it. Many London homeowners and renters invest in professional intervention, yet still face recurring infestations simply because the groundwork was not laid properly beforehand. London’s dense housing stock, from Victorian terraces to modern purpose-built flats, creates unique challenges where pests can spread rapidly between neighbouring units. The steps you take before the technician arrives are often what determine whether treatment delivers lasting results or simply provides a temporary fix.
Table of Contents
- Assessing the infestation and notifying stakeholders
- Clearing clutter and exposing pest hotspots
- Protecting personal items and ensuring pet safety
- Preparing for treatment day and aftercare
- Why thorough preparation makes treatment stick: an expert opinion
- Professional pest control and post-treatment support in London
- Frequently asked questions
Key Takeaways
| Point | Details |
|---|---|
| Early notification | Inform landlords immediately and document infestation signs for prompt action. |
| Clear clutter | Declutter and clean affected areas to expose pest hotspots and boost treatment effectiveness. |
| Protect health | Safeguard personal items and pets from chemicals and follow all professional advice. |
| Aftercare matters | Post-treatment cleaning and ventilation ensure lasting results and safety for all residents. |
Assessing the infestation and notifying stakeholders
Before any treatment can begin, it is important to understand the scale of the problem you are dealing with. Take time to walk through each room and look for the tell-tale signs of pest activity. Common indicators include droppings near food storage areas, gnawing marks on skirting boards or packaging, grease trails along walls, unusual odours, or actual sightings of insects or rodents. Photograph or note down everything you observe, as this information helps professionals plan the most effective course of treatment.
Key signs to look for include:
- Droppings near cupboards, under sinks, or along walls
- Gnawing damage on food packaging, cables, or woodwork
- Discarded skins or larvae in dark, undisturbed corners
- Grease marks on walls indicating regular rodent pathways
- Live or dead pest sightings, particularly at night for nocturnal pests
For renters living in London’s shared houses or flats, it is essential to report the problem to your landlord without delay. If the infestation stems from a structural issue such as gaps in walls, defective drainage, or poor building maintenance, the responsibility falls on the landlord. Under the Housing Act obligations, if structural pest issues are ignored by a landlord, tenants can request council intervention to enforce action. Documenting the severity of the infestation with photographs is particularly useful if this escalation becomes necessary.
“Notify your landlord in writing as soon as you suspect an infestation. A written record protects your rights and speeds up the response considerably.”
For homeowners, the process is more straightforward, though equally important. Review London pest control practices relevant to your pest type to ensure your assessment is thorough. If you share walls with neighbours, consider informing them as well, since pests rarely respect property boundaries.
Pro Tip: Use your smartphone to photograph every sign of infestation you find. A clear visual record helps the pest control technician assess severity before even entering the property, saving time and ensuring more accurate treatment.
Clearing clutter and exposing pest hotspots
Once stakeholders are informed, the next step is to ensure the environment is ready for professional intervention. Clutter is one of the most significant barriers to effective pest treatment. Cardboard boxes, piled newspapers, bags stored under beds, and overcrowded cupboards all provide ideal harborage points (hidden shelters where pests breed and rest). If these are left in place during treatment, pests simply retreat deeper into them and the treatment never reaches them.
Follow these steps to prepare each room thoroughly:
- Kitchen: Empty all low-level cupboards and move appliances such as fridges and cookers away from walls. Clear underneath the sink completely. Remove any recycling or food waste from the room.
- Bedrooms: Pull beds away from walls and remove all items stored underneath. Clear wardrobes and drawers of clutter where possible.
- Bathrooms: Remove items from underneath bathroom cabinets and clear any storage around pipework.
- Living areas: Move furniture away from skirting boards and walls, and vacuum thoroughly along all edges and corners.
- Throughout the home: Bag and remove any unnecessary clutter, paying particular attention to dark, undisturbed storage spaces.
After decluttering, vacuum all surfaces thoroughly, including carpets, upholstered furniture, and hard floors. This removes pest debris such as eggs, shed skins, and droppings, and reduces the overall pest load before treatment begins. Reactive treatments fail more often than preventive programmes precisely because they do not expose harborage points, meaning chemicals never reach where pests are actually living and breeding. For further guidance on keeping your London home pest-free, review these essential pest control tips which cover both preparation and longer-term prevention.
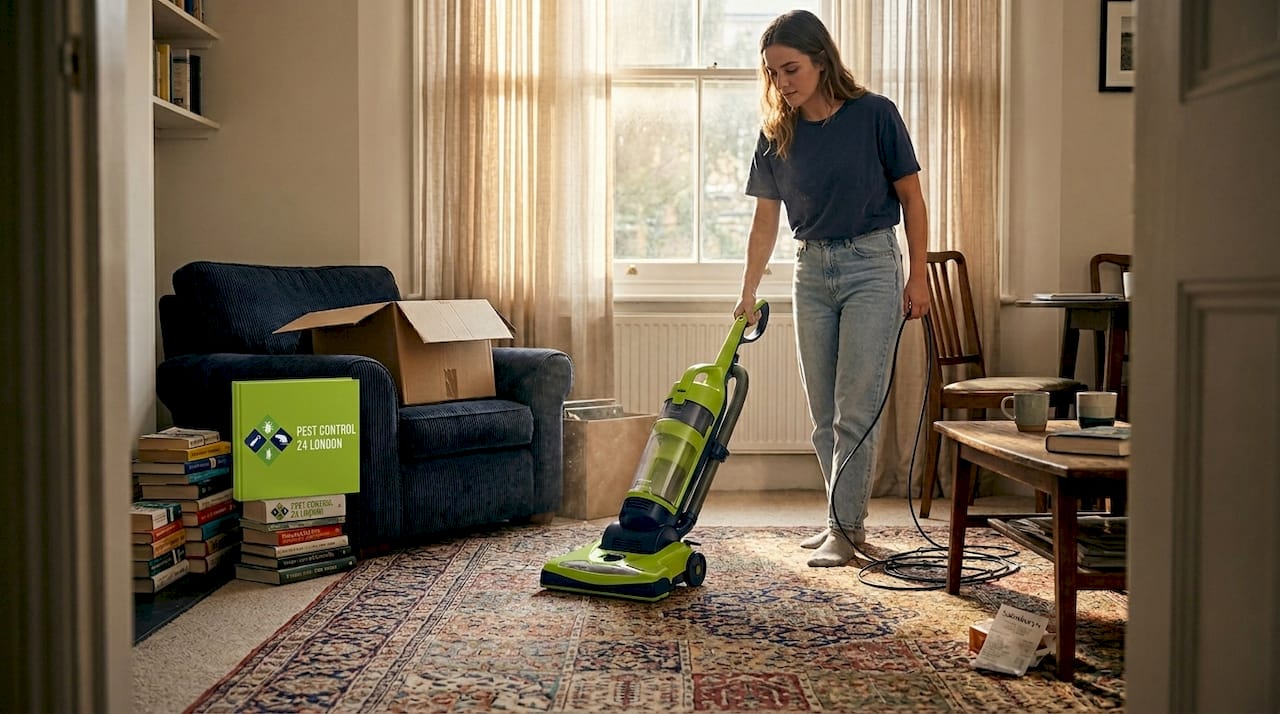
Pro Tip: Place all the items you remove from cupboards and under furniture into sealed bags or boxes temporarily. This prevents displaced pests from simply moving into the clean areas of your home during treatment.
Protecting personal items and ensuring pet safety
With clutter cleared, focus turns to ensuring health and safety for all household members, including pets. Pest control treatments involve chemicals that, while carefully formulated and applied by qualified professionals, can pose risks if food, utensils, or animals are left exposed during the process.
Items to store away or protect before treatment:
- Food and drink: Place all food items in sealed containers or move them to a room not being treated. Cover any items that cannot be moved with heavy-duty plastic sheeting.
- Kitchen utensils and crockery: Store these in sealed cupboards or cover with plastic sheeting.
- Toothbrushes and personal hygiene items: Place in a sealed bag and remove from the treatment area.
- Children’s toys: Remove from treated rooms, particularly soft toys that can absorb residues.
- Pet food and water bowls: Empty, clean, and store away before the technician arrives.
Pets require particular attention. Fish tanks and aquariums are especially vulnerable, as airborne insecticides can dissolve in water and prove fatal to fish. Cover tanks fully and switch off any aeration systems that draw in air. BPCA-qualified professionals consistently recommend proper hygiene and preparation before treatment, and this extends to removing or thoroughly protecting all pets and their accessories.
| Item | Recommended action |
|---|---|
| Fish tanks and aquariums | Cover completely, switch off air pumps |
| Pet bedding | Remove from property or seal in bags |
| Bird cages | Relocate to unaffected area or outside |
| Cat and dog beds | Remove or cover with sealed plastic |
| Pet food and water bowls | Empty, clean, and store away |
Where possible, arrange for dogs, cats, and other pets to stay elsewhere for the duration of the treatment and the advised re-entry period. If you are considering what professional home pest removal involves in terms of chemicals and safety protocols, a reputable technician will always provide you with a clear briefing beforehand.
Preparing for treatment day and aftercare
Now that your home is safeguarded, it is time to ensure all preparations are in place for treatment day and the crucial follow-up period. Treatment day requires your active involvement to ensure the technician can work efficiently and safely.
Follow these steps on the day of treatment:
- Ensure all rooms that require treatment are unlocked and fully accessible.
- Remove any last-minute obstructions such as laundry, shoes, or bags left in doorways or along walls.
- Arrange for all household members to leave the property for the duration advised by the technician.
- Confirm that all pets have been removed or appropriately protected.
- Leave windows closed unless specifically instructed otherwise, to contain treatment vapours within the target areas.
After the technician completes the work, ventilation is critical. Open windows and doors for the time period your technician advises, typically at least two to four hours, before allowing residents to return. Avoid mopping or wiping treated surfaces for several days, as this removes residual insecticide that continues working against pests after the visit. Preparation before treatment is critical to maximising the effect of professional intervention. Following treatment, review these pest-proofing tips to reduce the risk of re-infestation.
“Never clean treated surfaces immediately after a professional visit. The residual effect of the treatment is doing its job, and removing it prematurely significantly reduces effectiveness.”
| Resident responsibilities | Professional responsibilities |
|---|---|
| Clear and declutter all rooms | Assess and identify pest species |
| Remove or protect food and pets | Apply targeted treatments safely |
| Vacate the property during treatment | Advise on re-entry times and aftercare |
| Avoid washing treated surfaces | Provide follow-up guidance and reports |
| Ventilate after advised re-entry time | Recommend further visits if required |
Why thorough preparation makes treatment stick: an expert opinion
After more than a decade working across London’s diverse housing, from council flats in Hackney to townhouses in Kensington, our experience consistently shows that preparation is the single greatest differentiator between a one-off call-out and a lasting solution. Clients who follow preparation steps thoroughly see far fewer recurring infestations. Those who do not often find themselves calling us back within weeks.
London’s density makes this even more important. Pests move between properties through shared wall cavities, pipework, and roof spaces. If your preparation is incomplete, pests simply retreat temporarily and return. Preventive programmes consistently outperform reactive treatments precisely because they address harborage and access points. Our 10 years of expertise has taught us that the most skilled technician cannot fully compensate for a poorly prepared property. Your actions before we arrive are just as important as ours on the day.
Professional pest control and post-treatment support in London
Once you have prepared your home, professional support makes the entire process seamless and effective.
Our team has been protecting London homes and businesses since 2015, delivering BPCA-qualified domestic pest control across all London boroughs. We also offer post-treatment cleaning services to sanitise your home after treatment, ensuring it is safe and hygienic for your family. Whether you are facing an urgent infestation or want to get ahead of a potential problem, our 24/7 pest control services are available whenever you need us. Get in touch today and let us handle the rest.
Frequently asked questions
Should tenants or landlords organise pest treatment in London?
Landlords bear responsibility for structural pest issues under the Housing Act and HHSRS; tenants should report problems promptly in writing and follow all preparation instructions once treatment is arranged.
How soon can I return home after pest treatment?
Most professionals recommend waiting at least two to four hours after treatment and ventilating the space fully before re-entering; your technician will advise the specific timeframe based on the treatment used.
Do I need to remove pets from my flat during pest treatment?
Yes, all pets and their bedding should be removed or thoroughly protected before treatment, as chemical exposure can be harmful to animals, particularly fish and birds.
What happens if pests return after treatment?
Recurring pests usually indicate incomplete preparation or hidden harborage points that were not reached during the initial visit; preventive programmes and a more thorough preparation process are typically recommended for a follow-up treatment.